
Elva Fields Blog
-
A History Lesson: Better Together

We're starting off the year here at Elva with a new feature on our blog, A History Lesson, that grew out of a brainstorm about our vintage adventures and the many unique stories we love about our one-of-a-kind jewels. Short of inviting each of you to the studio (though you're always welcome!) we thought we'd tell some tales here on the site...sort of walk you through how a design came to be--from discovery of the vintage element(s) to the completion of the creation, giving you a bit of history on some of our favorite finds and the creative process involved. Think of it as the Elva version of VH1's Behind the Music. But sparklier. (And hopefully no stints in rehab. Yet.)

So, with each collection update this year, we'll highlight one style and give you A History Lesson...hopefully one worth learning and entirely without note-taking or final exams. First up, our "Better Together" necklace, freshly-added to our Elva Collection today! In an effort to start out honestly, we must let you know that this design was originally intended (and included) as part of our Holiday 2013 Collection, even making its way to some fun magazine photo shoots and then back to our studio in early December for the launch...but somehow someone (me) skipped over it when writing copy for our Holiday necklaces, and it sat (sadly) forgotten on our shelves for a few weeks. Here she is now in all her glory, getting her long overdue story told in the spotlight!
I first discovered the pair of ladybug brooches in a favorite antique haunt in South Florida. I almost overlooked them, nearly-hidden as they were in a tall rotating case filled with sparkly goodies--just around the corner from this beauty that almost came home with me, actually. Between the beautiful colored rhinestones (likely of Austrian origin) and the costume pearls, these little ladies were too amazing and adorable to pass by, and once I noticed that they were made by Kramer of New York, I knew they had to be part of the Elva fun. Kramer was a costume jewelry firm founded in the 1940s and consistently made quality, higher-end designs through the 1970s, including some for fashion label Christian Dior. These beautiful bugs are likely from the 60s, and would have been worn together, perhaps on the lapel of a ladies' jacket or on a sweater...adding just a touch of cheerful glamour to the occasion.

Just a few weeks later I headed to market for bead-buying, where I quickly snagged a set of vintage glass pearl strands from a vendor who specializes in unique vintage findings and beads, particularly items discovered in a warehouse filled with dead-stock jewelry components from the 30s through the 60s. (As a side note, I am equally devastated and thrilled I've not yet found my own abandoned warehouse full of goodies...I might never emerge, but it would be a ton of fun digging through the awesomeness, and I might be willing to stay there forever.)

Once back in the studio, I noticed the pearls matched the finish and luster of the jewels used for the bugs' bodies perfectly, and I couldn't resist pairing them together. Elegant and charming, the arrangement seemed a fun mix, hitting the right notes of sophistication and whimsy, with such a tale to tell! Can't wait to see who might add the fun to their collection and continue the story of these jewels.
And that, friends, is your first History Lesson, Elva-style!
-
See You Next Year!

We'll leave you at this year's end with our happiest wishes for simple pleasures, frequent smiles, warm hearts, unexpected joys, and sincerest kindness. From our small town Main Street studio, all the very best to our wonderful, dear customers, friends, and family.
See you in 2014 with much fun ahead!
XO,
The Elva Gals
-
Handmade Holiday: DIY #4

Inspired by a recent concert surprise, this week's DIY has us giddy for a get-together. We Elva Gals have long loved a reason to celebrate--whether a fun mail day or a more monumental milestone--and with New Year's Eve just around the corner, we figured there was no time like the present to put together a party favor both fun and festive. Colorful confetti seemed just the ticket.
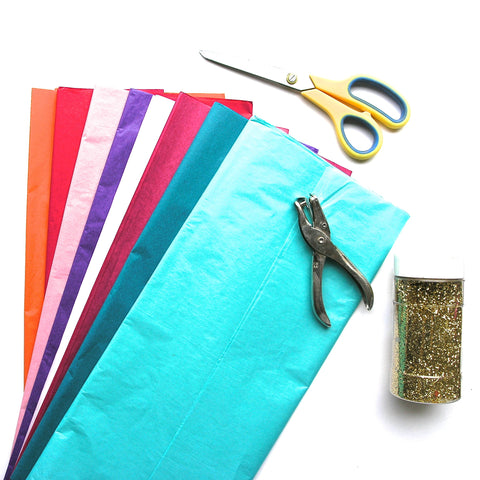
And this one couldn't be any easier. Truly. All you'll need are scissors, a hole punch, some tissue paper, a brown bag, and some glitter if you're feeling glamorous. We were. (I mean, we work at Elva Fields surrounded by sparkly jewels...how could we not?)
Get crazy with some fun cut-outs. Hearts, triangles, random snippets with the scissors. There's no wrong answer here.
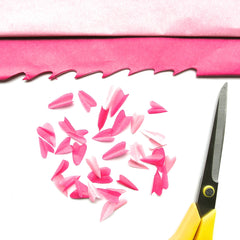


Mix the shapes together (you could put 'em in a bowl if you're making a big batch) and sprinkle in the glitter if you're going for it.

We divvied up the delights in paper bags lined with tissue and sealed 'em with one of our signature stickers...but you could snag some cellophane treat bags or even small envelopes, depending on how exciting you want to make this thing. It's your party, so we say do what you like!


Toss and laugh and sip some bubbly...and happy celebration, friends!

-
Handmade Holiday: DIY #3

We're continuing our craftiness in the studio this week with our third DIY of the month...and, though this one turned out NOTHING like the images that first caught our eye for the project, we had such fun improvising and think the results turned out unexpectedly awesome.
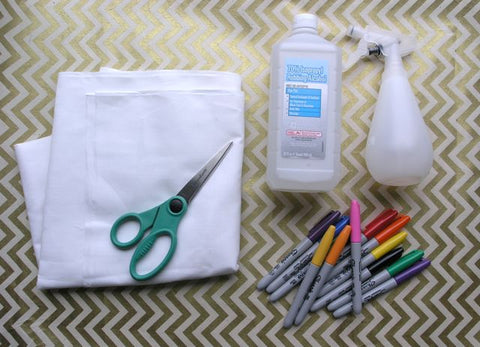
For starters, you don't need much. A plain white, loose-weave cotton fabric (muslin), rubbing alcohol, a spray bottle, scissors, and Sharpies. (You might also snag a plastic bag or piece of newspaper to place under your fabric while you're working...just to keep the colors from transferring to your work surface.)
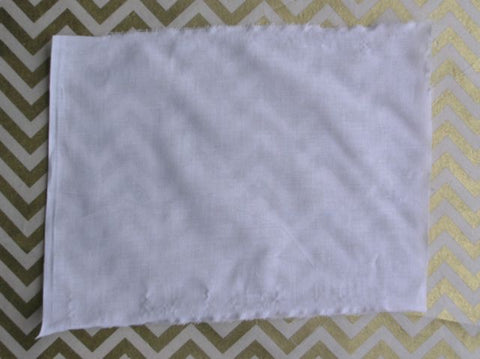
Start with a bit of the fabric...depending on what you plan to do with it (we'll be framing ours) cut the size accordingly.
Live it up with some free-hand decorating...think about how colors might blend and run together...and just go for it. No rhyme or reason, just do what strikes your fancy, friends.
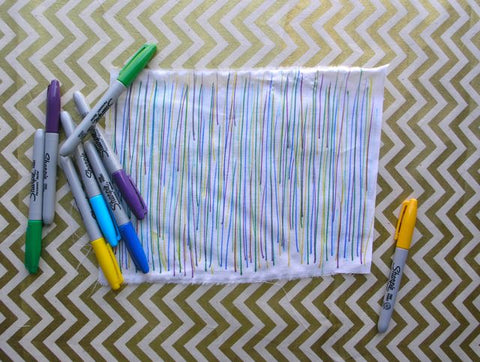
Here's a close-up of our artistic genius: (truly, our five-year old could have done this, I think!)

Now spray the fabric with the alcohol...really drench it for the best blurring.

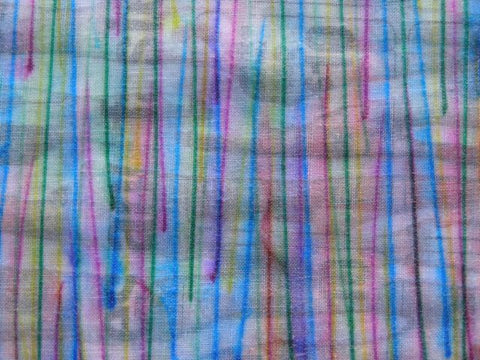
Here's a pic of another design we drew, showing just a small section that has been sprayed...you'll see the effects immediately, but set it aside for a few minutes to let the magic really happen.

And here we are with a few of our designs...a bit tie-dye, a bit watercolor, entirely fun. (You can iron them at this point to rid of wrinkles and semi-set the color in the fabric, but we opted to leave ours alone.)

Framed and placed as part of a gallery wall, this could be such a cool addition to a colorful collection of art! (We snagged this frame at a dollar store and spray-painted it gold...looks so much fancier than that, right?)
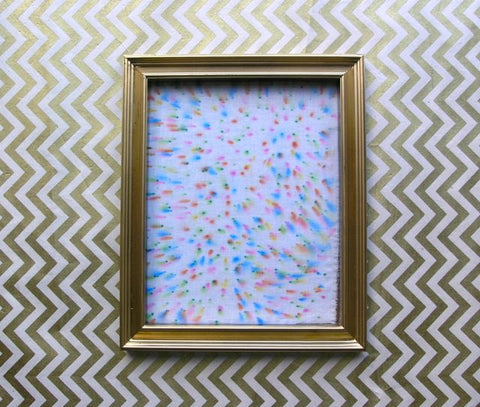
Or in a simple IKEA frame...the matted presentation makes it seem like legit art. And it is...yay, you for creating something unique! Have fun!

-
Holiday Shipping Schedule


