Elva Fields Blog
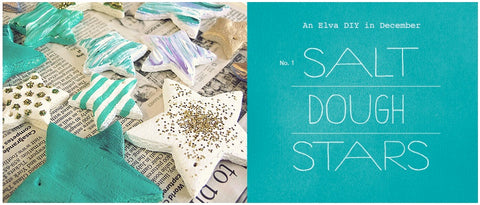
Handmade Holiday: DIY #1
We're kicking off our Holiday Collection's handmade theme with a series of DIY's, each inspired by a design from our Elva, June, Deb, or Original Vintage lines. We'll walk you through how to make the item yourself (if we can do it, literally ANYONE can do it) in a step-by-step tutorial, and (the best part, we think) if you spend at least $100 with us this week, we'll include the crafty creation with your order as long as we have the goodies still in stock! (So first come, first served!)
We took the lead from a favorite Elva necklace in the Holiday Collection...

...and decided on making salt dough stars! (Seemed an easy start, especially since we plan to make these at home with our toddlers soon...needless to say, that adventure will not be documented on the blog...no telling what kind of a disaster our kitchen will be after flour, water, and preschoolers are involved.)
Here's what you'll need to make the fun happen:
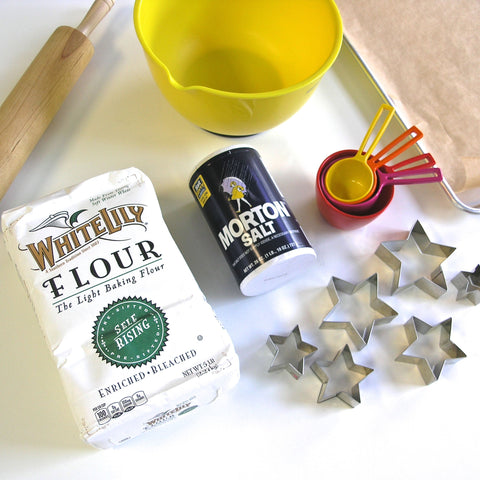
flour / table salt / rolling pin / mixing bowl / measuring cups / parchment paper / baking sheet / cookie cutters

paint / glitter / brushes / twine


To make the dough:
Combine 1 cup salt, 2 cups flour, 1 cup lukewarm water.
Knead for 5 minutes until smooth.
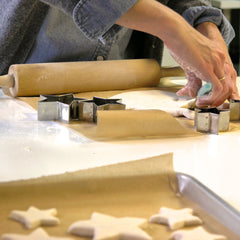
Then:
Roll out on parchment to desired thickness.
Use cutters to create star shapes.
Pierce with hole for stringing.
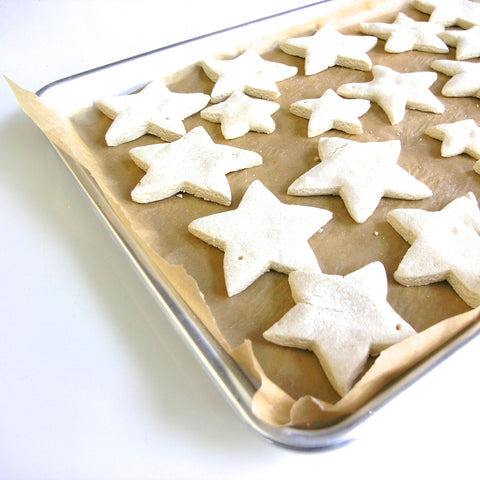
Place on parchment-lined tray for baking.


Bake for 45 minutes at 350˚ and then place on wire rack for cooling.
(We let ours dry overnight to ensure hardening.)
Then the decorating begins! No rules here...it was a free-for-all fun time.


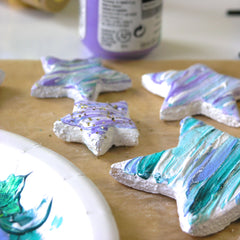


Last step--string with twine, and you're good to go! Shine on, superstars!